Painting a car is a multi-stage process involving extensive preparation, application of primer, basecoat, and clearcoat, and the use of specialized equipment and safety gear. The final quality and cost depend heavily on whether you choose a DIY approach or professional service.
The Car Painting Process
Achieving a quality finish relies heavily on meticulous preparation and careful application of multiple layers.
- Preparation:
- Wash and Disassemble: Thoroughly clean the car and remove trim, badges, and any parts (like door handles or lights) that you don’t want painted.
- Remove Imperfections: Address rust, dents, and deep scratches by grinding or sanding and using body filler.
- Sand the Surface: Sand the existing paint with various grits of sandpaper (e.g., starting with 80-grit for major work and progressing to finer grits like 400-grit) to create a smooth, dull surface for the new paint to adhere to.
- Clean and Mask: Clean the sanded surface with a wax and grease remover or isopropyl alcohol. Use high-quality masking tape and paper/plastic sheeting to cover all areas that should not be painted.
- Application:
- Apply Primer: Spray 2-3 coats of automotive primer to seal the metal, protect against rust, and provide a uniform base for the color. Allow it to cure as per the manufacturer’s instructions.
- Sand Primer: Lightly sand the primed surface with a fine-grit sandpaper (e.g., 600-grit) to ensure it is level and smooth.
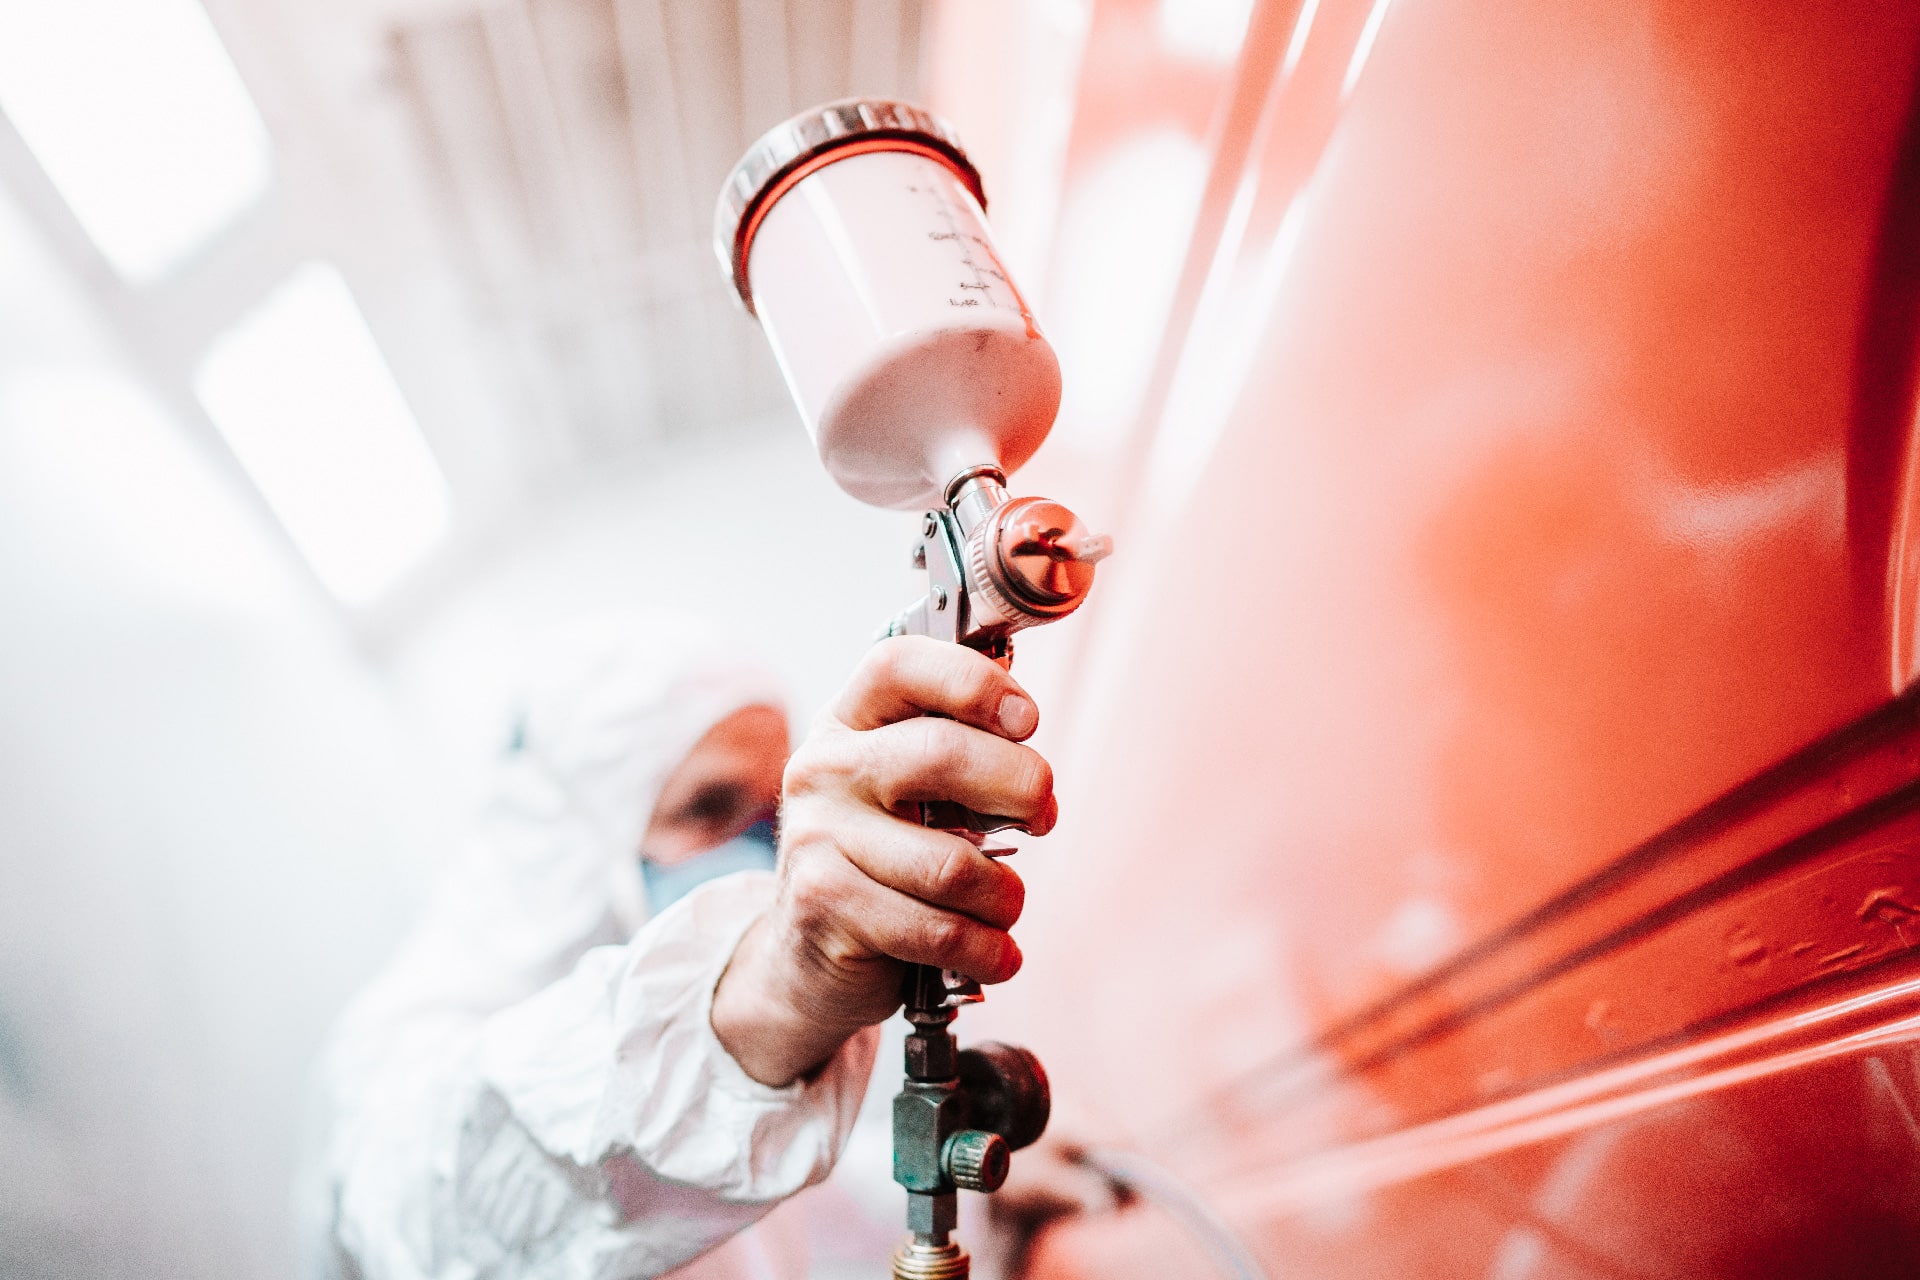
- Apply Basecoat: Apply the color (basecoat) using smooth, even, overlapping strokes with a spray gun, allowing each coat to “flash off” (dry to the touch) for 10-15 minutes before applying the next.
- Apply Clearcoat: After the final basecoat flashes off, apply 2-3 coats of clearcoat lacquer. This provides a protective layer against UV rays and environmental damage and adds shine.
- Finishing:
- Dry and Cure: Allow the clearcoat to dry completely, which can take 24 hours or more depending on conditions and product type.
- Reassemble and Polish: Carefully remove the masking materials. After the paint has fully cured (sometimes 45-60 days), the surface can be wet-sanded, buffed, and polished for a showroom finish.
Equipment and Materials
- Safety Gear: A paint-specific respirator, safety glasses, nitrile gloves, and disposable coveralls are essential for protection against fumes and overspray.
- Preparation Tools:
- Powered sander (dual-action is popular)
- Sandpaper (various grits from coarse to fine)
- Wax and grease remover/surface cleaner and clean cloths
- Masking tape and plastic/paper sheeting
- Application Tools:
- Air compressor (ensure it has enough CFM for the chosen spray gun)
- HVLP or LVLP spray gun
- Paint thinners/reducers and hardeners/catalysts
- Primer, basecoat paint, and clearcoat lacquer
- Tack cloths for removing fine dust
Professional vs. DIY Painting
| Feature | DIY Painting | Professional Painting |
|---|---|---|
| Cost | Generally lower upfront cost, but potential for costly mistakes. | Higher initial cost due to labor, expertise, and high-grade materials. |
| Quality/Finish | Can be difficult to achieve a flawless finish due to dust, uneven application, and lack of professional environment. | Superior, long-lasting finish due to specialized skills, climate-controlled booths, and advanced equipment. |
| Time | Can be very time-consuming (days to weeks) due to the steep learning curve and drying times. | More efficient and quicker turnaround time. |
| Warranty | No warranty; mistakes are the owner’s responsibility. | Reputable shops often offer warranties on their work for peace of mind. |
Ultimately, the choice depends on your budget, experience level, available time, and desired outcome.